Welcome to EverClean Mold Removal
Mold Remediation Plantation
15+
Who we are
Get to Know the Experts Behind EverClean Mold Removal.
Dedicated to restoring healthy, mold-free spaces for over 15 years.
Mold Remediation Professionals Plantation FL: How to Remove Mold and Prevent It Permanently
Mould is a persistent problem that can damage your home, impact indoor air quality, and pose health risks to you and your family. Removing mould effectively and preventing its return requires a combination of proper techniques, proactive measures, and regular maintenance. Below, we outline the steps you can take to address mould issues permanently.
Effective Tips for Mold Removal Plantation FL Homes Need
Addressing these sources is essential for long-term prevention.
Essential Steps for Water Damage Restoration Plantation FL
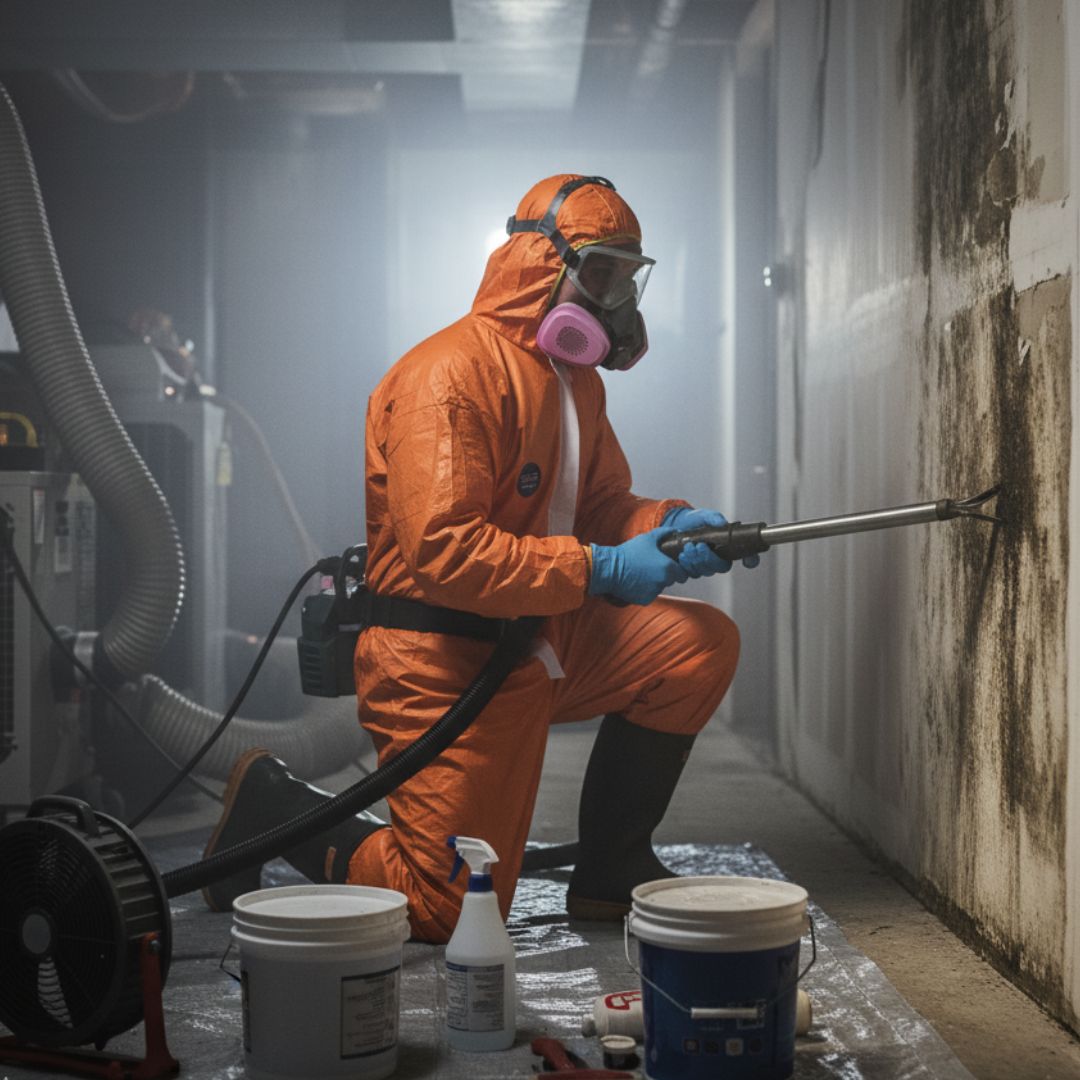
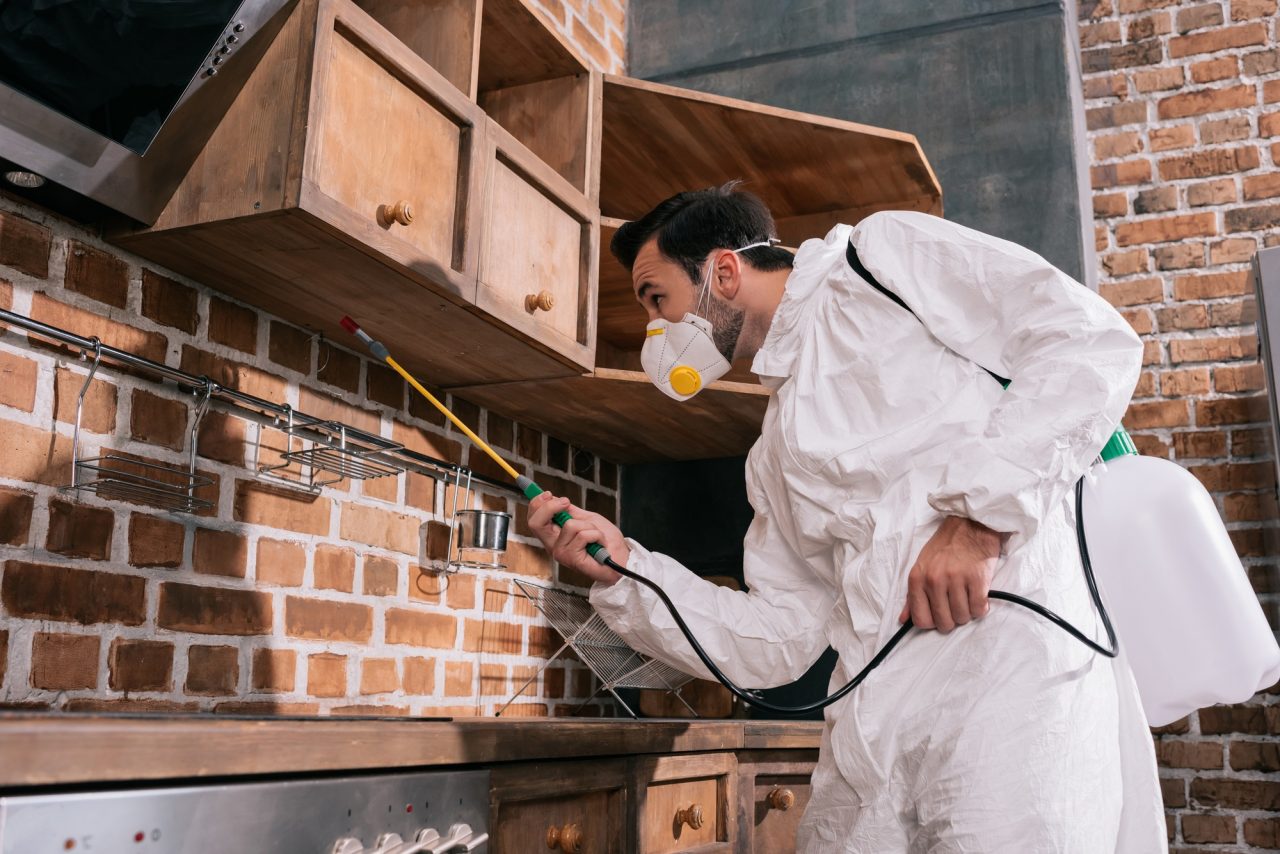
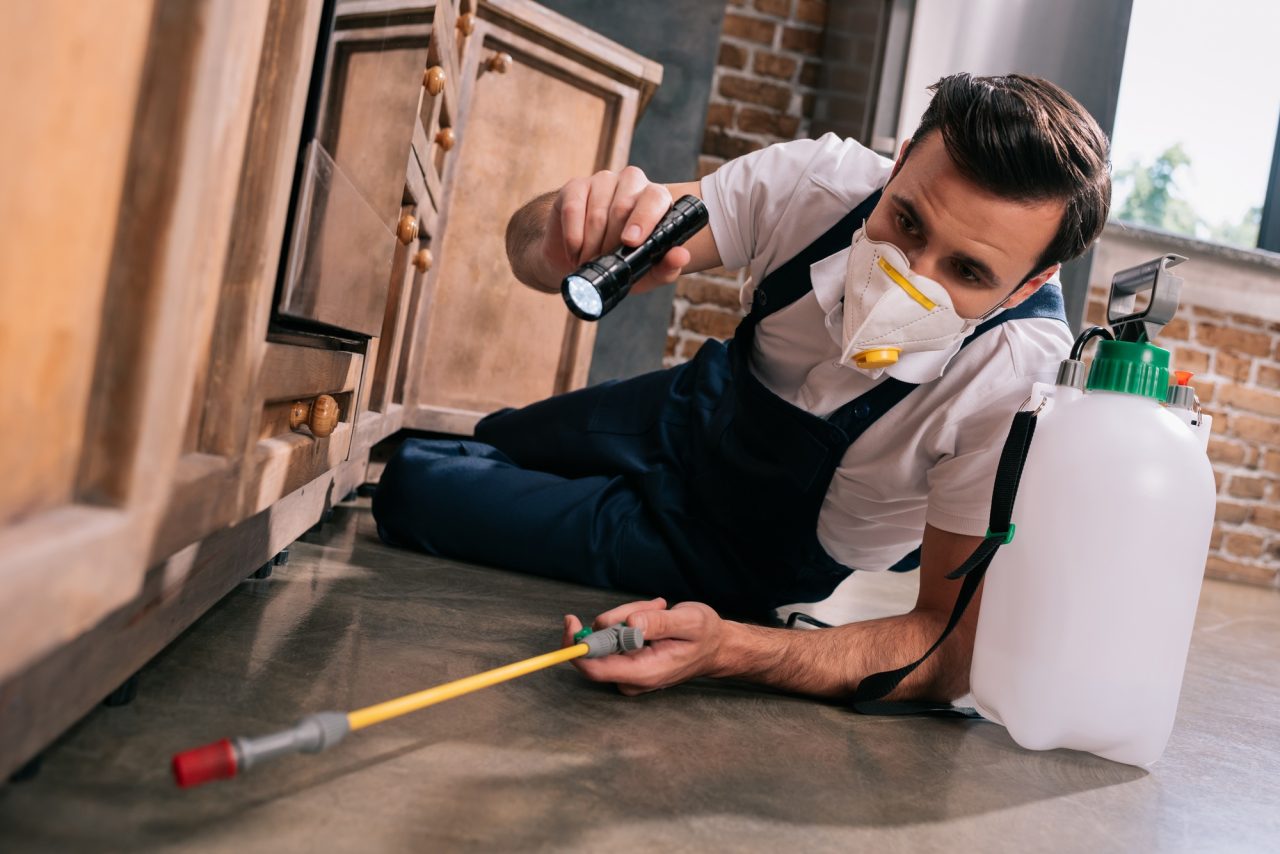
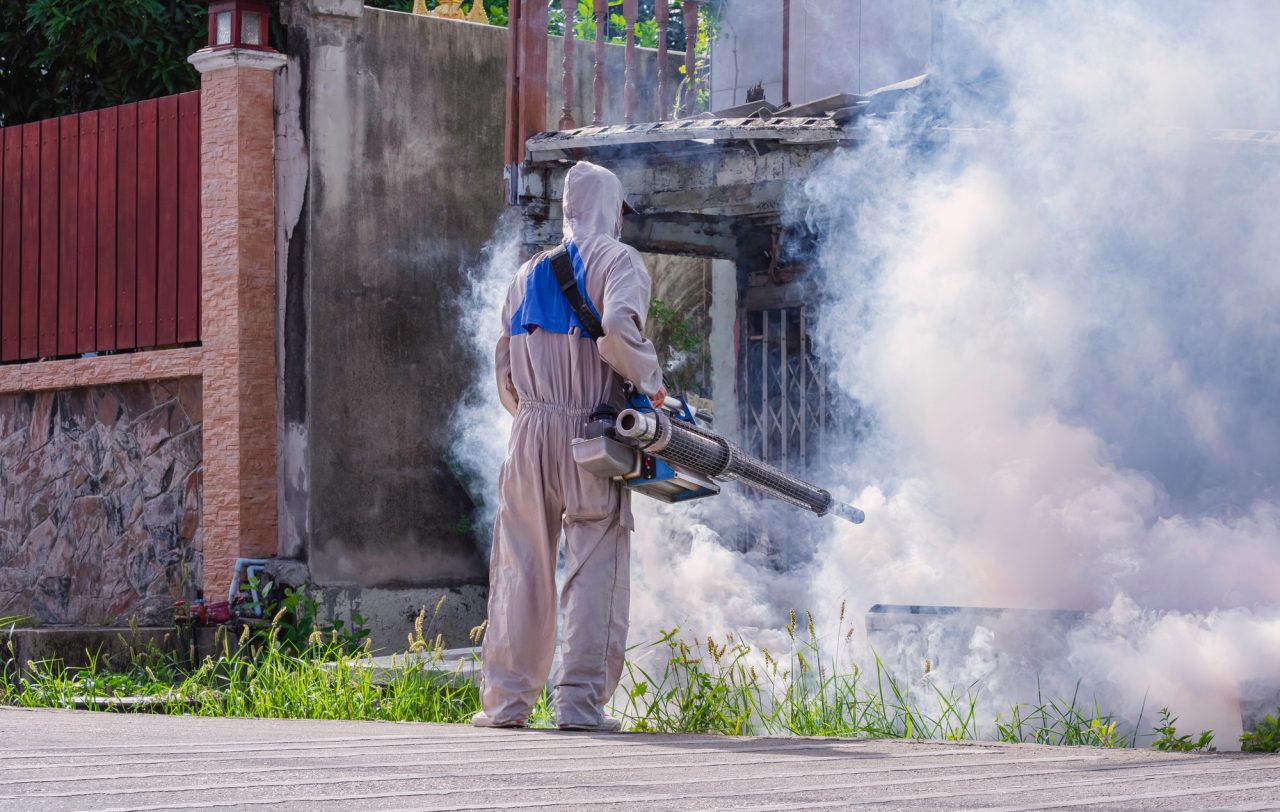
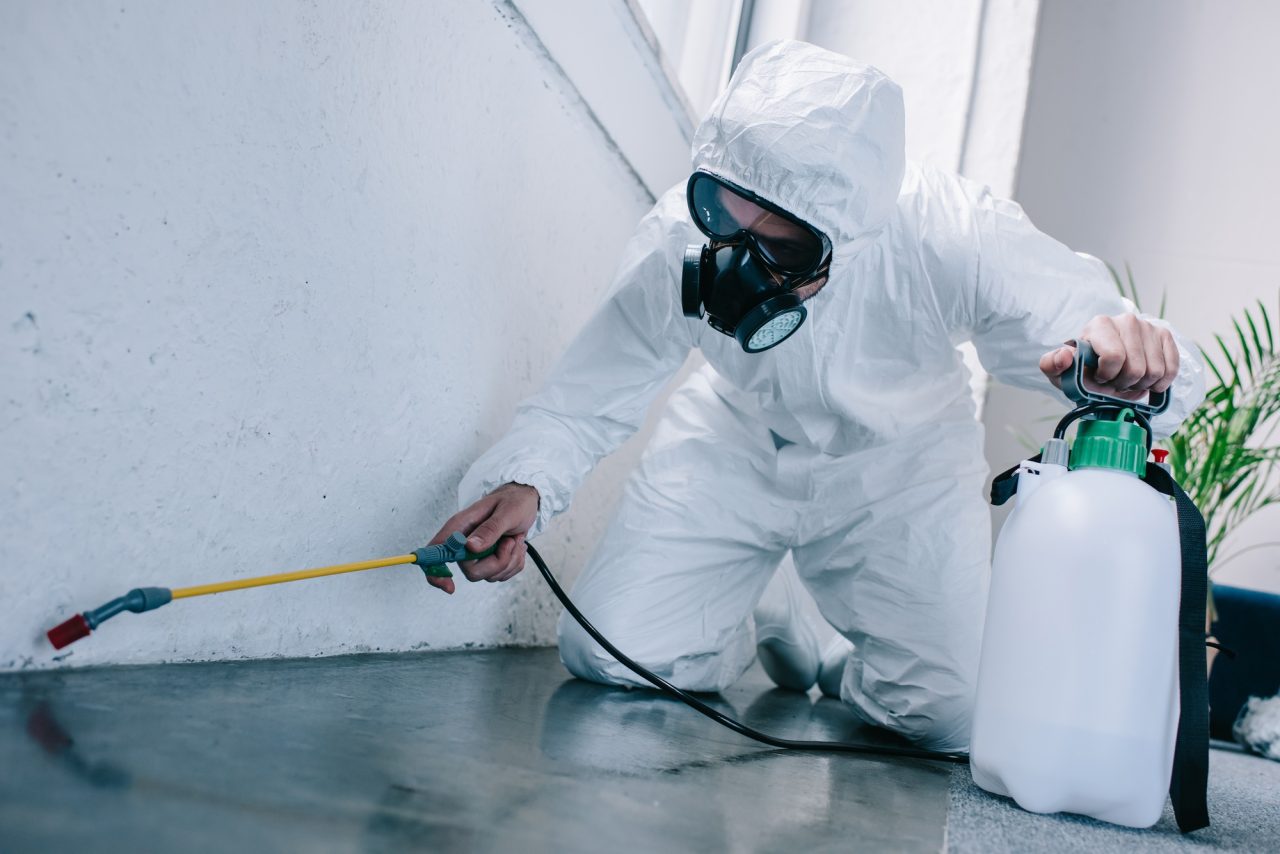
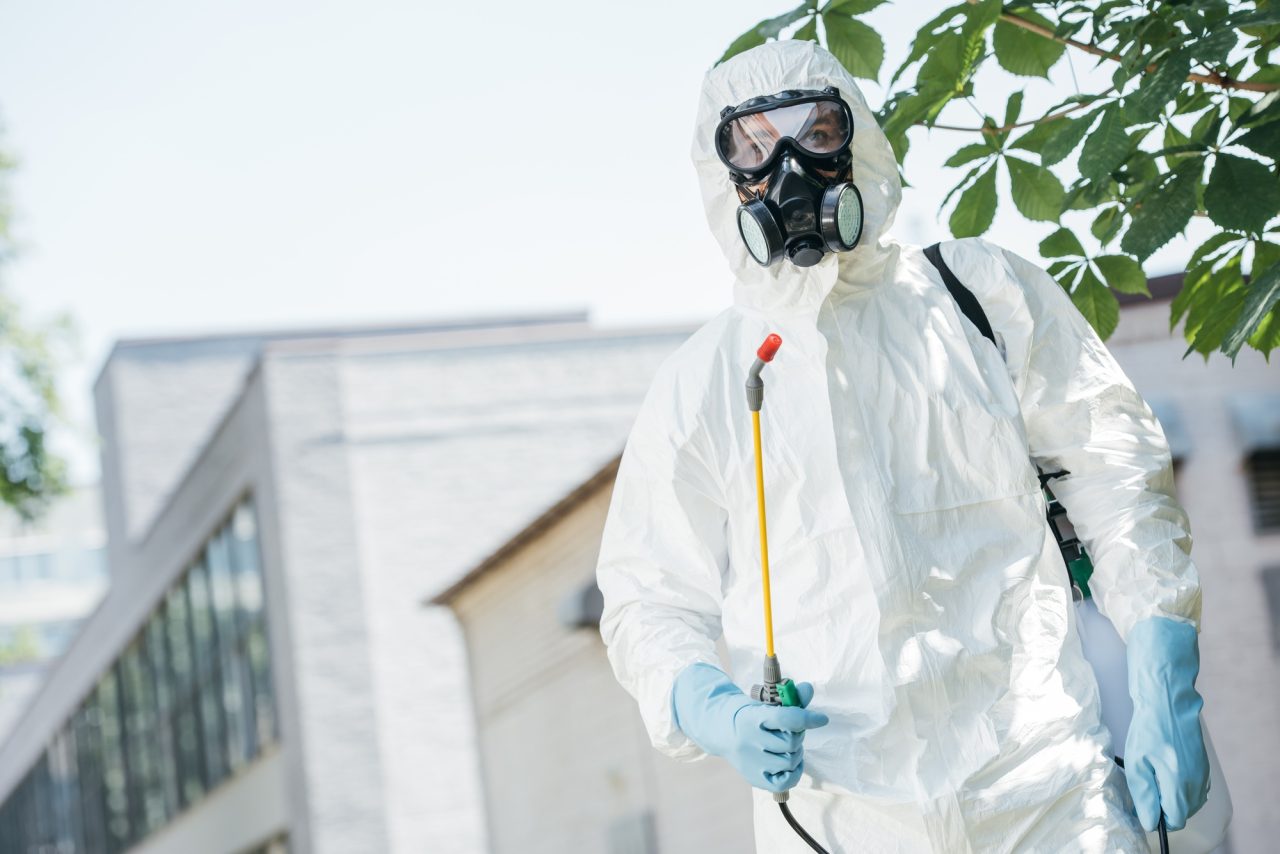
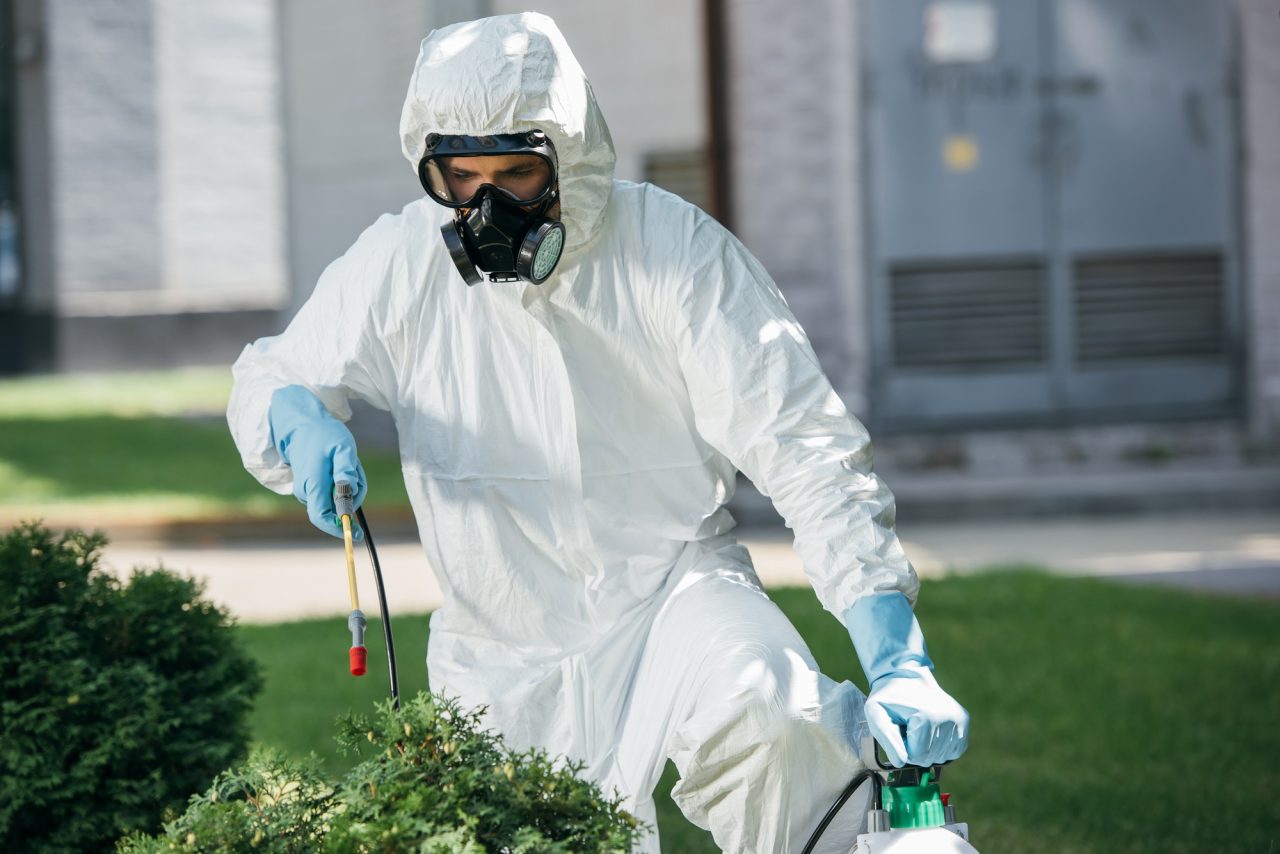
- Protect Yourself
Wear protective gear such as gloves, goggles, and an N95 mask to prevent exposure to mould spores. - Contain the Area
Close doors or use plastic sheeting to isolate the affected area while cleaning. - Dispose of porous items like carpets, drywall, or insulation that are heavily infested.
- Non-porous surfaces like tiles and glass can be cleaned effectively.
- Clean with Proper Solutions
While bleach is often recommended for killing mould on non-porous surfaces, there are safer alternatives: - Vinegar: A natural and effective option that kills up to 82% of mould species.
- Hydrogen peroxide: Useful for killing mould on hard surfaces without toxic fumes.
- Commercial mould removers: Look for products specifically designed for safe mould removal.
- Scrub Affected Surfaces
Use a scrub brush or sponge with your cleaning solution of choice. Rinse thoroughly with water after scrubbing. - Dry the Area Completely
Ensure all surfaces are dry within 24–48 hours using fans or dehumidifiers. This step is critical since moisture invites new mould growth.
| Cleaning Solution | Recommended For | Pros | Cons |
| Vinegar | Hard surfaces | Natural; readily available | Can leave strong odor |
| Hydrogen Peroxide | Non-porous materials | Antimicrobial; non-toxic | Breaks down in sunlight |
| Bleach | Tiles, sinks | Kills surface-level spores | Toxic fumes; not eco-friendly |
Preventative Measures for Long-Term Results
- Control Indoor Humidity: Use a dehumidifier or air conditioner to maintain humidity levels below 50%.
- Improve Ventilation: Install exhaust fans in high-moisture areas such as bathrooms and kitchens.
- Fix Leaks Immediately: Repair pipes, roofs, windowsills, or any other sources of water intrusion as soon as they’re detected.
- Insulate Properly: Prevent condensation by ensuring walls and windows are adequately insulated.
- Use Mold-Resistant Products: Select paints with anti-microbial additives when redecorating or renovating your home.
- Regular Inspection: Check areas prone to moisture—like basements—for early signs of dampness.
Quick Tips for Homeowners
- Keep gutters clean so water doesn’t seep into foundations.
- Avoid leaving wet clothes indoors as this increases indoor humidity.
- Place moisture absorbers (like silica gel) in closets prone to dampness.
By combining effective removal methods with preventative strategies tailored to your home’s specific conditions, you can ensure that mould stays away permanently while maintaining a healthier living environment for your household.
Effective Mold Remediation Plantation: Does Bleach Work or Are There Better Alternatives?
Mould removal is a critical process for maintaining a healthy living environment. While bleach is often the go-to product for mould removal, its effectiveness is limited, and there are other, better alternatives that homeowners should consider. This section delves into the pros and cons of using bleach, explores alternative solutions, and provides actionable steps to safely eliminate mould from your home.
Effective Methods for Mold Removal Plantation Residents Can Trust
Bleach is commonly used to clean surfaces affected by mould because it’s widely available, inexpensive, and has disinfectant properties. However, its effectiveness in completely eradicating mould is a subject of debate.
Advantages of Using Bleach: – Kills surface-level microbes on non-porous materials such as tiles and glass. – Removes visible stains caused by mould growth. – Simple to use when diluted properly (e.g., 1 cup of bleach per gallon of water).
Limitations of Using Bleach: – Does not kill mould at its roots: On porous surfaces like drywall or wood, bleach only removes surface stains but fails to penetrate deep enough to destroy the root system of mould. – Health risks: The fumes from bleach can irritate the skin and respiratory system. Prolonged exposure can also pose more serious health risks. – Can worsen conditions: When used on porous materials, bleach introduces moisture that may actually encourage further mould growth over time.
Effective Solutions for Mold Inspection Plantation
- How it works: White vinegar has natural antimicrobial properties that make it effective in killing up to 82% of common types of household mould. It penetrates porous surfaces better than bleach.
- Pour undiluted white vinegar into a spray bottle.
- Spray directly onto the affected area.
- Let it sit for at least an hour before scrubbing with a brush or sponge.
- How it works: Hydrogen peroxide (3%-concentration) is an antifungal agent that effectively kills mould while being safer for users than bleach.
- Apply hydrogen peroxide directly onto the surface using a spray bottle or cloth.
- Allow the solution to sit for 10–15 minutes before scrubbing away residue.
- How it works: Baking soda absorbs moisture while offering mild abrasive action that helps remove stubborn patches of mould.
- Mix 1 teaspoon of baking soda with water in a spray bottle.
- Spray onto the surface, scrub gently, and wipe clean with a damp cloth.
- Look for EPA-certified products specifically designed to kill both surface and root-level mould without harmful chemicals.
| Alternative | Benefits | Ideal Surfaces |
| White Vinegar | Natural & non-toxic | Porous & non-porous |
| Hydrogen Peroxide | Effective & safe | Non-porous & delicate surfaces |
| Baking Soda Solution | Removes odours & moisture | Walls, ceilings |
| Anti-Mould Products | Targeted solutions | Variety |
Effective Steps with a Mold Specialist Plantation for Safe Removal
- Wear protective gear such as gloves, goggles, and an N95 mask to avoid exposure to spores during cleaning.
- Contain the area by sealing vents or doorways with plastic sheeting to prevent spores from spreading throughout your home.
- Identify and address moisture sources (e.g., leaks) before starting removal efforts; otherwise, the problem will persist even after cleaning.
- Remove visible mould using one of the alternatives mentioned above based on your material type (e.g., wood vs tile).
- Once cleaned thoroughly, dry all surfaces completely using fans or dehumidifiers.
By choosing effective alternatives like vinegar or hydrogen peroxide over traditional bleach—and ensuring proper safety precautions—homeowners can successfully eliminate existing infestations while reducing future occurrences through preventive measures outlined later in this article series.
Effective Mold Remediation Plantation FL: Steps to Safely Restore Your Home After Flooding
Flooding can create a perfect environment for mould growth, as the combination of moisture and organic materials provides an ideal breeding ground. Addressing mould after flooding requires swift action to minimize its impact on your home and health. Below are essential steps to safely restore your home and prevent mould from becoming a long-term problem.
1. Prioritize Safety Before Entering the Property
Before you begin any clean-up, ensure that it is safe to enter your home: – Turn off electricity: Avoid the risk of electrical shock if water has reached outlets or appliances. – Wear protective gear: Equip yourself with gloves, safety goggles, an N95 respirator mask, and waterproof clothing. – Check structural stability: Inspect walls, ceilings, and floors for signs of structural damage.
2. Remove Standing Water Quickly
The longer standing water remains in your home, the higher the risk of mould growth: – Use pumps or wet-dry vacuums to remove larger amounts of water. – Mop up smaller puddles or residual water. – Open drains or gutters to divert additional water away from your property.
3. Dry Out Affected Areas Thoroughly
Drying out your home is crucial for stopping mould before it takes hold: – Open windows and doors to improve ventilation if weather permits. – Use dehumidifiers and high-powered fans to speed up drying. – Remove and replace wet insulation, carpets, rugs, or upholstered furniture that cannot be adequately dried within 24–48 hours.
4. Identify and Remove Mould-Affected Materials
Mould thrives on porous materials like drywall, wood, and fabric: – Inspect walls, flooring, furniture, and personal belongings for visible signs of mould (e.g., black or green spots). – Discard heavily infested items that cannot be cleaned effectively. – Examples of discardable items: Mattresses, insulation material, ceiling tiles. – Examples of salvageable items: Glassware or metal objects that can be disinfected.
5. Clean Surfaces with Mould-Specific Products
Cleaning is key to eliminating existing mould spores: – Use products specifically designed for mould removal such as fungicides or vinegar-based cleaners. – Avoid using bleach alone—it may kill surface-level spores but often fails to penetrate porous materials deeply enough to fully eradicate mould colonies.
| Cleaning Method | Benefits | Limitations |
| Bleach | Effective on nonporous surfaces (e.g., tiles) | Ineffective on porous materials |
| Vinegar | Natural solution; kills many types of fungi | Odor may linger temporarily |
| Commercial cleaners | Formulated specifically for killing mould | May involve harsh chemicals |
6. Focus on Proper Ventilation During Clean-Up
Maintaining air circulation while cleaning helps reduce airborne spores: – Install exhaust fans in affected rooms if possible. – Avoid spreading spores by containing clean-up areas with plastic sheeting over doorways.
7. Address Underlying Moisture Problems
To prevent recurring issues after flood-related mould removal: 1. Check roofs for leaks or damage caused by the floodwaters. 2. Repair broken pipes or faulty plumbing systems promptly. 3. Ensure the slope around your home’s foundation directs rainwater away from the property.
Importance of Acting Quickly
Mould can start developing within just 24–48 hours after flooding occurs if moisture isn’t addressed immediately. By following these steps methodically and addressing both short-term clean-up efforts and long-term prevention strategies, you can safely restore your home while minimizing risks associated with post-flood mould growth.
Effective Plantation Mold Remediation: Steps to Safely Restore Your Home After Flooding
1. Ensure Safety Before Entering
Before entering your home after flooding, consider the following safety precautions: – Turn off electricity and gas: Water can damage electrical systems and pose electrocution risks. – Wear protective gear: Use gloves, a mask (such as an N95 respirator), goggles, and waterproof boots to minimize exposure to contaminants. – Assess structural stability: Check for signs of damage that could make the building unsafe.
2. Remove Standing Water
Mould thrives in wet environments, so removing standing water quickly is critical. Use tools such as: – Pumps: A submersible or sump pump can help remove large volumes of water. – Wet/dry vacuum: This is useful for smaller pools of water. – Manual methods: Brooms or mops can assist in clearing water from hard-to-reach areas.
3. Dry Out Affected Areas Completely
Drying out your home is one of the most effective ways to prevent mould growth: – Open windows and doors to promote ventilation. – Use fans or industrial air movers to circulate air. – Employ dehumidifiers to reduce indoor humidity levels.
For larger sections of moisture (e.g., soaked walls or flooring), consult professionals who specialize in water damage restoration.
| Method | Recommended Tools | Estimated Time Needed |
| Open ventilation | Windows, doors | Several hours |
| Mechanical drying | Fans, air movers | 1–2 days |
| Dehumidification | Commercial dehumidifier | 24–48 hours |
4. Remove Contaminated Materials
Floodwater often contains harmful bacteria and pathogens that can seep into porous materials. Discard items that cannot be salvaged: – Insulation material – Carpets and upholstered furniture – Mattresses – Drywall with visible mould growth
Nonporous items like metal or plastic furniture may be cleaned with a solution of soap and water followed by disinfection.
5. Clean and Disinfect Surfaces
To kill existing mould spores: 1. Scrub nonporous surfaces (tile, concrete) using detergent and warm water. 2. Apply a disinfectant like hydrogen peroxide (3%) or white vinegar; avoid bleach because it does not penetrate porous surfaces effectively. 3. Allow surfaces to dry completely before applying any sealants or paints.
6. Monitor for Recurring Mould Growth
Even after thorough cleaning, mould may return if moisture issues persist. Prevent recurrence by: – Inspecting for leaks in walls, ceilings, pipes, or roofs. – Maintaining indoor humidity levels below 60%.
Regular inspections post-flood recovery are essential in identifying hidden areas where mould could resurface.
Addressing post-flood mould growth requires immediate action paired with preventative measures to ensure long-term safety in your living space.
Effective Mold Remediation Plantation FL: Protect Your Property from Harmful Growth
Mould growth on house foundations is a common issue that can lead to structural damage, health problems, and reduced property value. To protect your home and prevent mould from taking hold, it’s essential to understand the causes of mould growth and implement effective prevention strategies. Below, we explore ways to stop mould from growing on house foundations and safeguard your property.
Causes of Mould Growth on Foundations
- Poor drainage: Water pooling near the base of a house can seep into foundation walls.
- High humidity levels: Excess moisture in the air can condense on cooler foundation surfaces.
- Leaks or cracks: Openings in the foundation allow water infiltration.
- Inadequate ventilation: Stagnant air increases the risk of mould development.
Addressing these root causes is critical for long-term mould prevention.
Prevention Strategies for Foundation Mould
1. Improve Drainage Around Your Home
- Ensure gutters and downspouts direct water away from your property’s foundation.
- Grade the soil around your home so that water naturally slopes away.
- Consider installing a French drain system if needed.
2. Seal Cracks and Gaps
- Inspect your foundation regularly for visible cracks or gaps.
- Use an appropriate sealant or epoxy filler to close openings where moisture might enter.
3. Control Humidity Levels
- Invest in a dehumidifier for damp basements or crawl spaces.
- Keep indoor humidity levels below 60% using hygrometers to monitor conditions.
4. Waterproof Foundation Walls
Applying waterproof coatings or membranes to exterior foundation walls creates an additional barrier against moisture intrusion.
| Type of Waterproofing | Description | Benefits |
| Exterior Waterproofing | Applied outside during construction or renovation | Prevents large-scale water ingress |
| Interior Waterproofing | Sealants applied inside existing structures | Cost-effective but less durable |
5. Maintain Proper Ventilation
Adequate airflow helps reduce excess humidity that fosters mould growth: – Install ventilation fans in enclosed areas like basements or crawl spaces. – Ensure air vents remain unobstructed and functional.
Signs of Potential Mould Risks Near Foundations
Recognizing early warning signs allows you to address issues before they escalate: 1. Persistent dampness near walls or floors. 2. Visible discolouration or dark spots appearing on surfaces. 3. Musty odours emanating from enclosed spaces.
Final Thoughts on Protecting Foundations From Mould Growth
Adopting these preventative measures ensures a healthier living environment while preserving your home’s structural integrity over time. Regular maintenance checks combined with mitigation efforts will significantly reduce potential risks related to mould damage on foundations.
Our value
Your Trusted Partner for Professional Mold Removal & Remediation Solutions
We are committed to helping homeowners and businesses create safe, healthy, and mold-free environments. Our certified experts provide thorough inspections, advanced remediation, and long-term prevention to ensure lasting protection for your property.
To be the leading mold remediation company known for restoring safe indoor environments and improving the health and well-being of every client we serve.
To provide reliable, eco-friendly, and efficient mold removal services using advanced technology and industry best practices — ensuring your home remains clean, dry, and free from harmful mold.
What we offer
Customized Pest Control Plans for Homes and Businesses.
Professional inspection to detect visible and hidden mold growth, ensuring a safe and healthy living environment for your family.
Comprehensive mold removal services for offices, buildings, and industrial spaces designed to maintain clean indoor air quality.
Accurate testing and analysis to identify mold spores and assess the air quality in your home or workplace.
Advanced tools to identify sources of excess moisture and prevent future mold growth.
Fast-response remediation services available for urgent mold issues caused by flooding, leaks, or high humidity.
Safe, non-toxic products and sustainable cleaning methods that protect both your health and the environment.
Areas Served
Need More Help?
Our team is ready to provide expert mold removal assistance.
Get personalized guidance from our certified mold specialists to assess your situation and recommend the right service.
Need immediate mold inspection or removal? Submit a service request and our team will respond promptly.
For ongoing remediation projects or post-service maintenance, our support team is here to help.
Read our latest guides and articles on mold prevention, indoor air safety, and home maintenance.